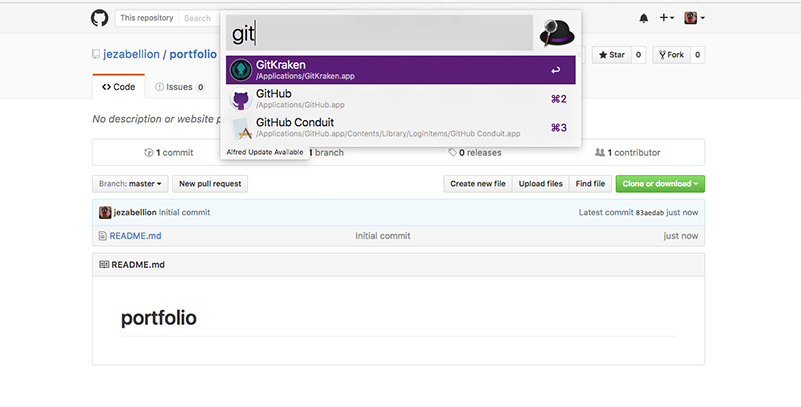
1. Login to Github and create a Remote Repository first (This is the main trick. It cannot be added locally after).
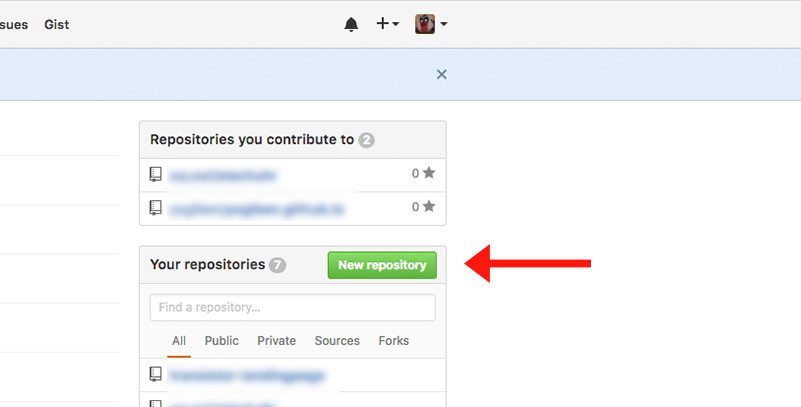
2. Include a readme file (it will not work without this)
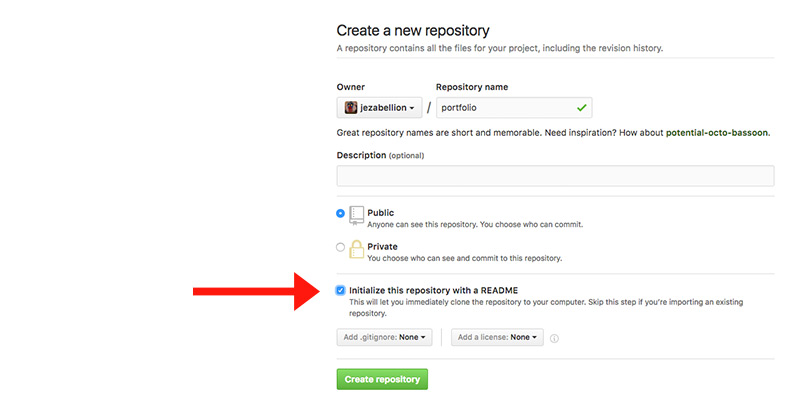
3. Create Repo
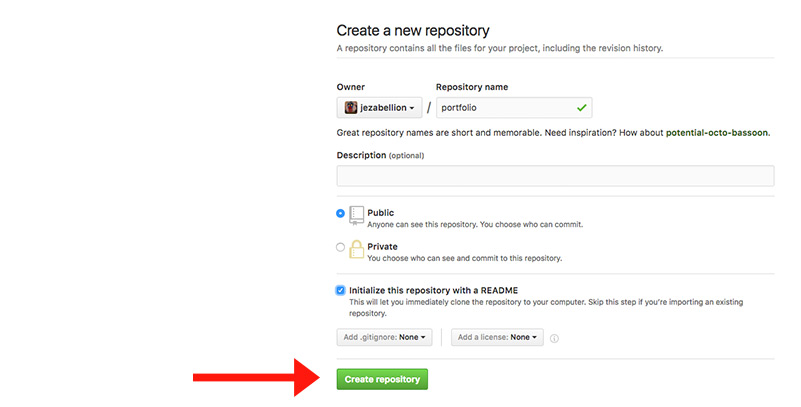
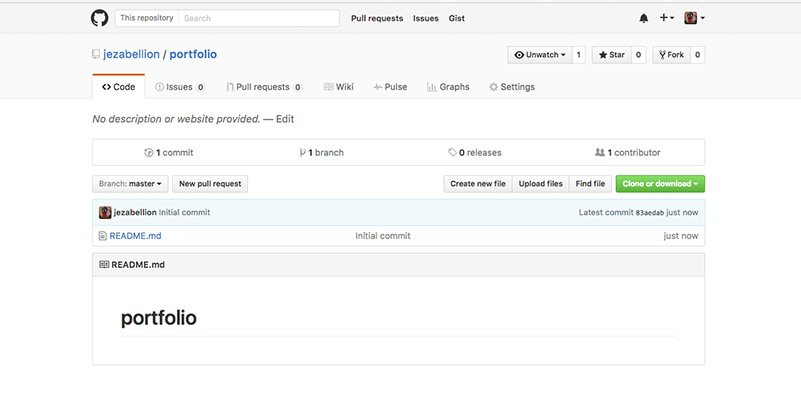
4. Perfect, it now exists on the cloud (Git)
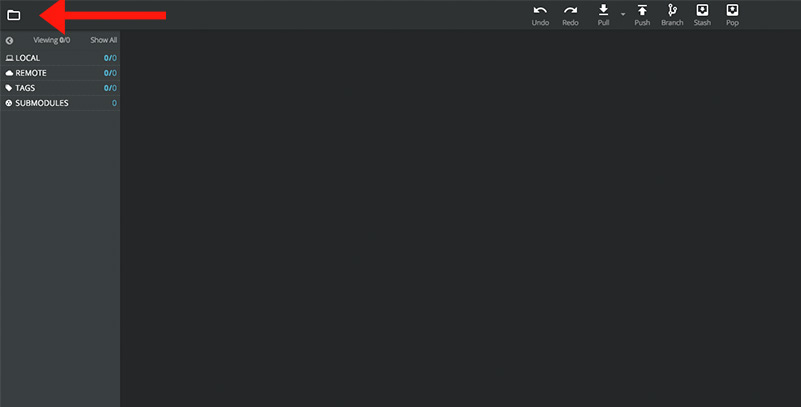
5. Open GitKraken
6. Click on the Folder icon in the top left
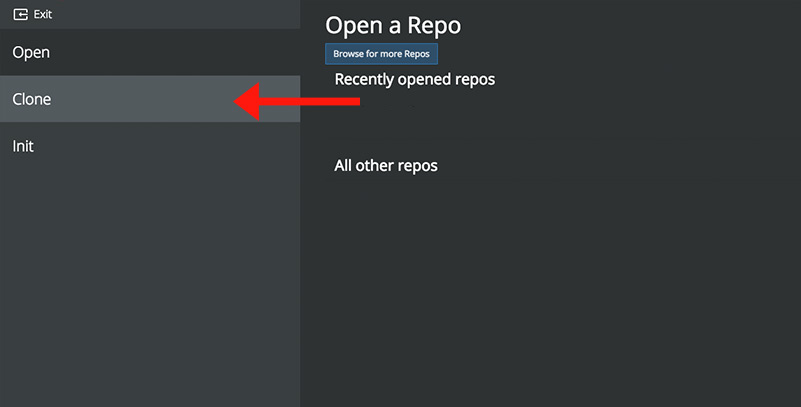
7. Select “Clone” (this will clone the Remote Repo to your local computer)
8. Select the github.com icon - a drop down menu will appear
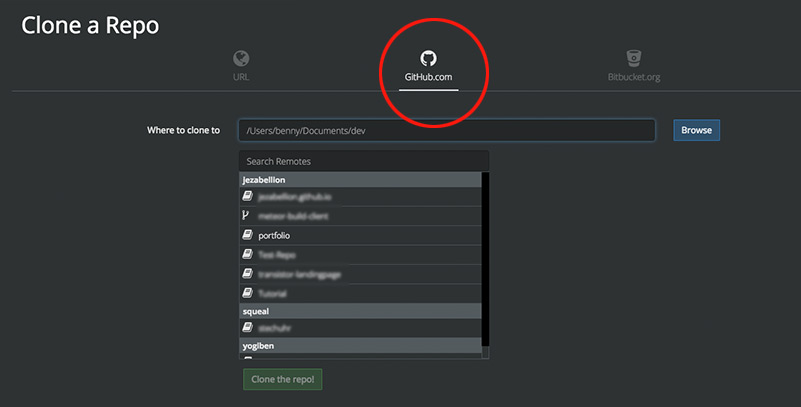
9. Select the desired local path and the repote repo to clone
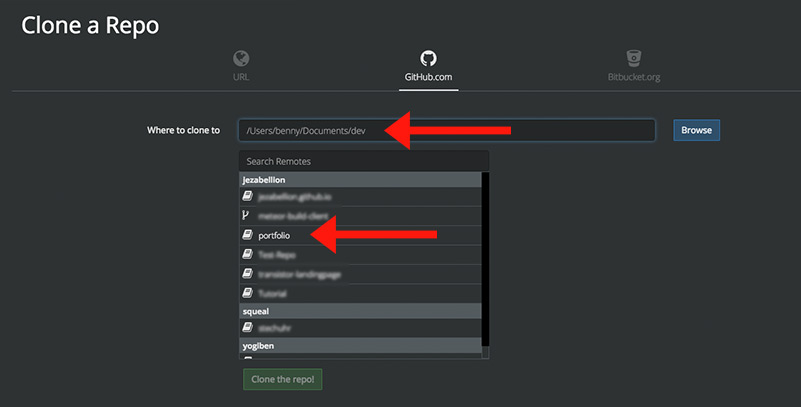
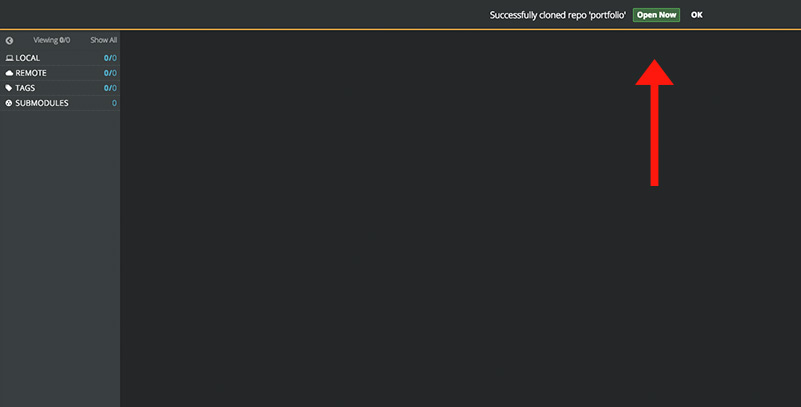
10. Clone repo! (Now any files you add locally can be pushed to Git.)
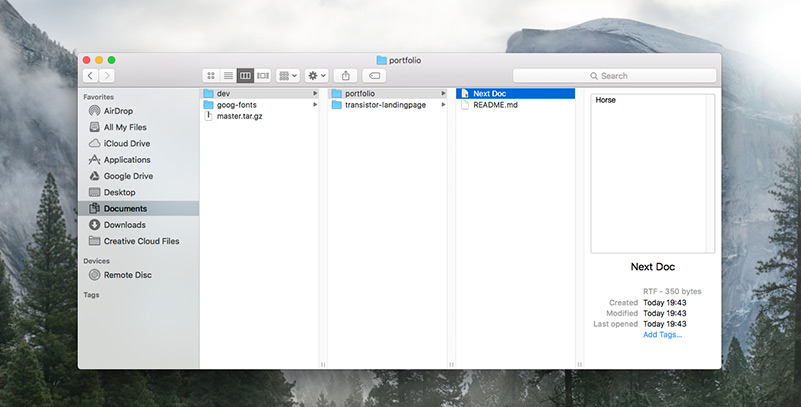
11. Add a new document locally via finder
12. This will now show up in Gitkraken

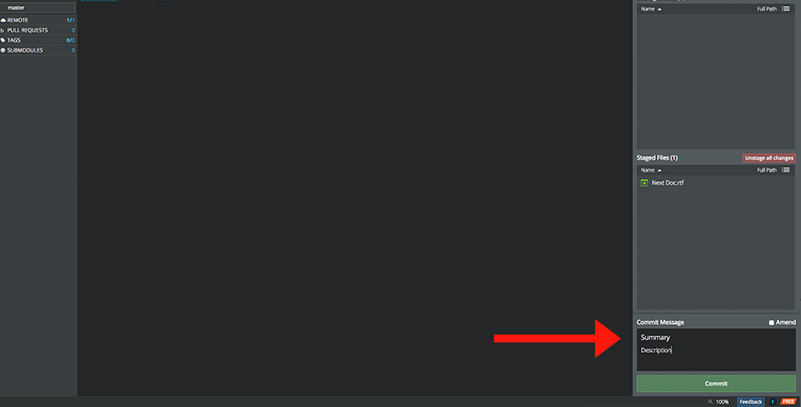
12. Stage changes (like cocking a gun)
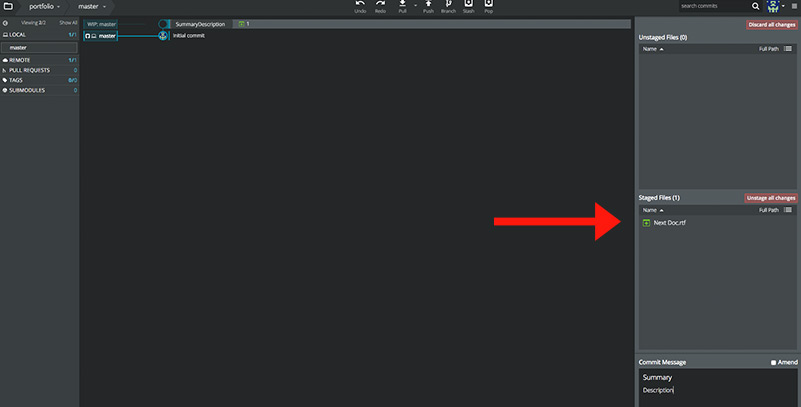
13. Write a commit message (to help orientate future people looking back into the past)
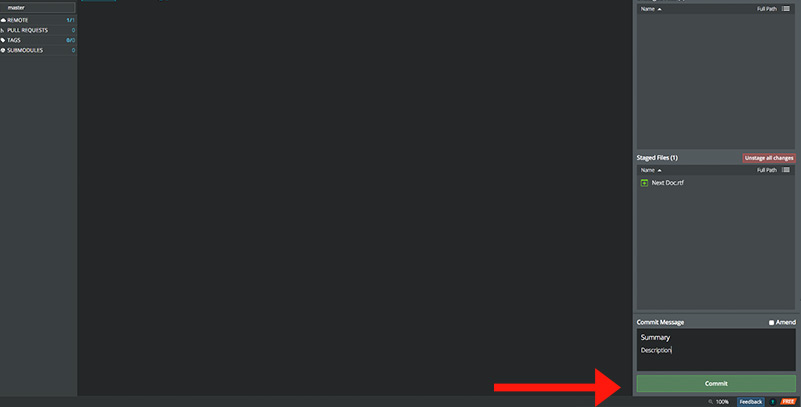
14. Commit! This commits changes locally
15. Push to Git! This pushes them to the cloud (Git)
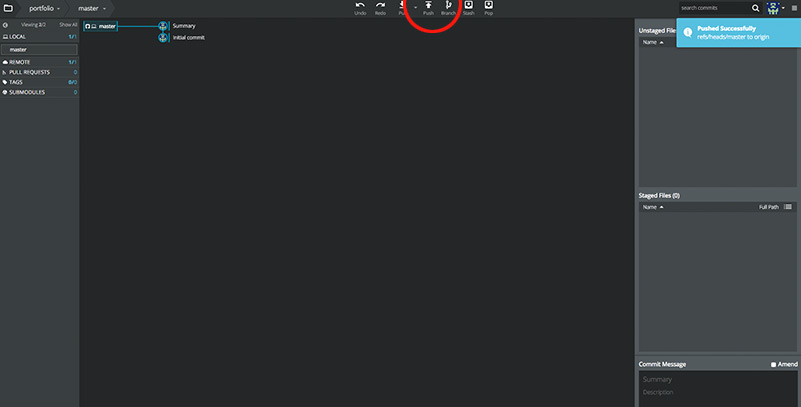
16. Congratulations, you're done! You can now Push & Pull 'till your heart's content!

